Tutorial 1: Explore Rana’s Web Platform, Create Your First Project and Conduct Your First Analyses
Introduction
In this first tutorial, you will explore the Rana Web Platform and learn how to quickly gain insight into a water system within a selected area.
Instead of immediately running simulations, you will first prepare and analyse hydrological base data. This reflects a real-world workflow: understanding the system comes before taking further steps, such as modelling it.
By actively exploring the platform and its processes, you will build confidence in navigating Rana and understanding how different datasets contribute to water system analysis.
Assumed knowledge
No prior knowledge is needed.
Learning objectives
With this tutorial you will:
Navigate and work within Rana’s Web Platform:
How to set up a project
Explore the catalogue
Assess the hydrological behaviour of a study area based on available data before initiating a hydrodynamic simulation
Preparation
Before you get started:
Make sure you have a Rana account and access to your organisation. Go to www.ranawaterintelligence.com to log in or sign up.
Step by step
Go to www.ranawaterintelligence.com and log in to your Rana account. If you do not have an account yet, sign up and make sure you have access to your organisation.
Check What’s new on the Dashboard to familiarise yourself with recent updates.
From the dashboard, go to Projects (
 ) and click Create a project (
 ).
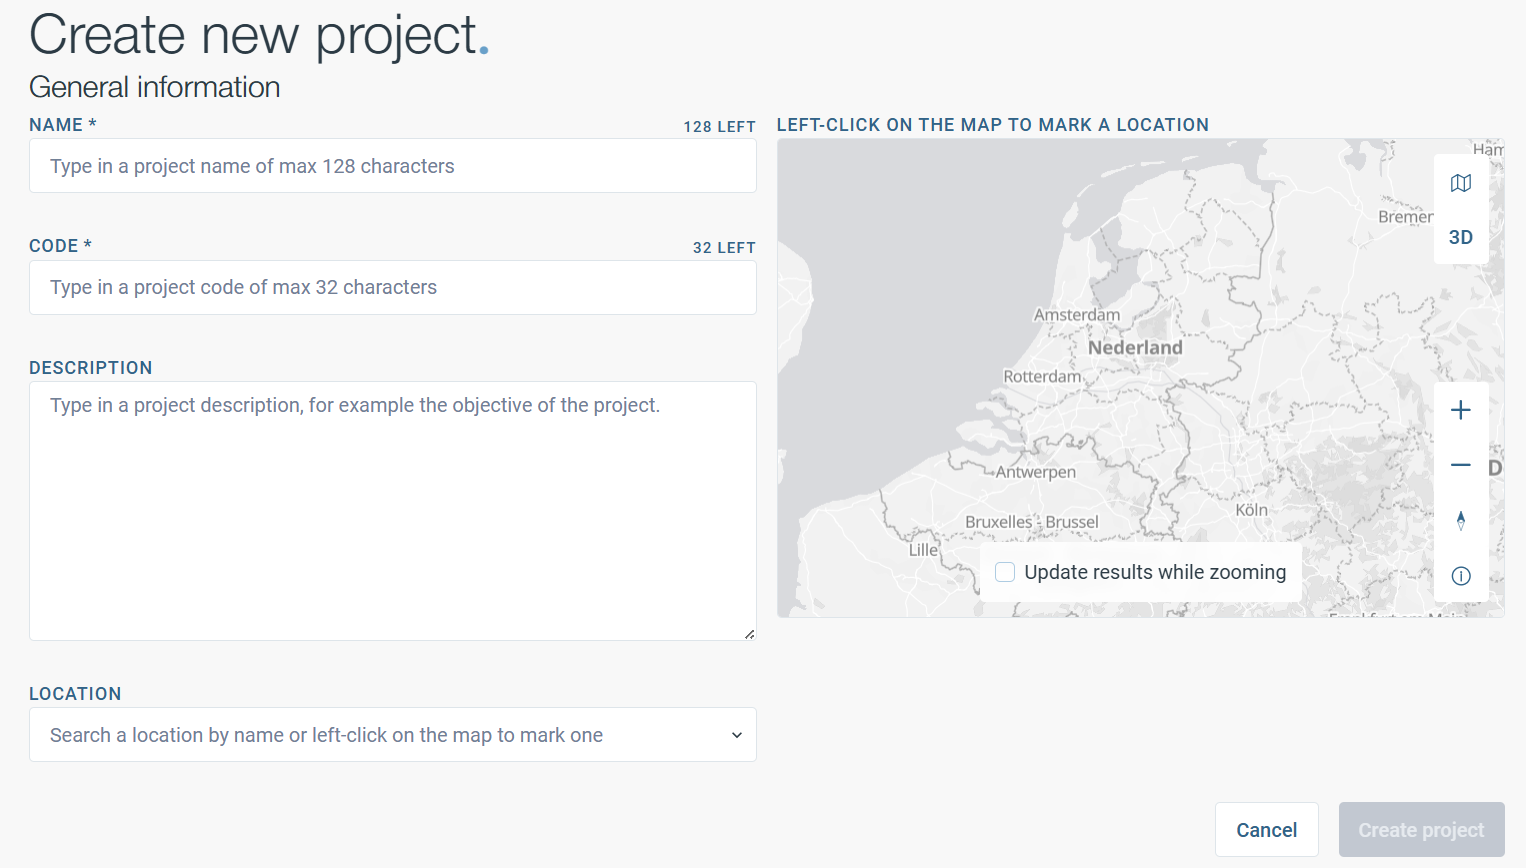
).Fill in the required project information and select a location of your preference.
Congratulations, you have created your first project in Rana!
Before continuing with the project, explore the catalogue from the dashboard (
 ). The catalogue contains different categories, including a variety of publicly available data sources commonly used in water analyses. Data from these categories can be easily extracted and used in your projects.
Tip
Explore the catalogue categories — one of them contains building-related data (BAG) that will be useful in Tutorial 3.
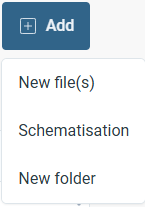
Go back to your project. From Overview, go to Files to get an overview of all files related to this project.
Create a new folder named Data. In this folder you will store all data gathered through the various processes.
You are now in the Files tab, go to the Processes tab and open the process Define study area.
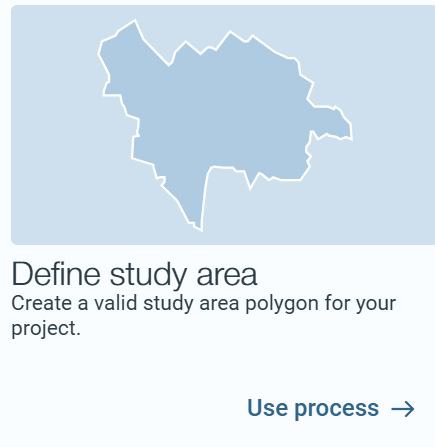
Go to Draw on map and draw a shape outlining the area you want to model hydrodynamically (for example, your home address, your office, or a project site you are working on). Select a relatively small area, such as a few streets, to keep processing times short.
Do not add a buffer. Save your study area in your Data folder and click Run process.
After the process is complete, go back to Processes, click on Create basic hydro data and read the information shown.
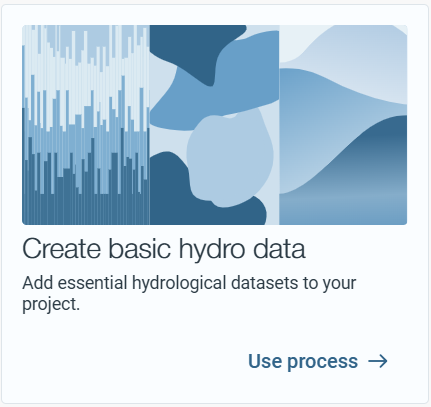
Use the study area you created in the previous step as input. Note the different datasets available and do not deselect any.
Select a grid size of 0.5 m.
Save your data in your Data folder and click Run Process to gather basic hydro data of your study area.
After the process is complete, you will use this data to gain a basic understanding of the water management in your study area before running a simulation.
Create another folder under the Files tab called Study area analyses.
Once the folder is created, open the process library and locate the processes Calculate Drainage Pattern and Delineate Basins:
First, open the process Calculate Drainage Pattern and read the information shown.
Select the digital elevation model file you retrieved earlier.
Set the minimum catchment area to 1000 m2.
Save your data in your Study area analyses folder and click Run Process.
Open the process Delineate Basins and read the information shown. Like the previous process, select the digital elevation model you retrieved earlier, save your data in your Study area analyses folder and click Run Process.
Tip
You can monitor the status of running processes in the Processes tab.
Once both processes are finished, go to the Files tab and open your calculated results.
Tip
Reflection: What are the most notable patterns in your drainage analysis? Look at the main flow directions and where water is likely to accumulate. These insights help you understand the hydrological behaviour of your study area before running a simulation.
Tip
Reflection: How do the delineated basins relate to the built environment in your area? Consider how basin boundaries may influence water management during heavy rainfall events.